

- Getting Started
- Time Tracking
- Monitoring & Productivity
- Desktop Timer Application
- Work Management
- Time Off & Scheduling
- Reports & Finance
- Administration & Settings
- API
- FAQ
Import Git Commits as Time Entries
Dernière mise à jour :
Developers rarely stop to log time, but they do commit. Trackabi can read your commits from GitHub, GitLab, or Bitbucket and turn each one into a draft time entry in your timesheet, with the commit message as the description and the commit date as the day. You connect the account once under Personal > Integrations, link each repository to a Trackabi project, and then import from the Import button on your timesheet, choosing which commits to keep.
Availability
- Connections are personal. Each developer connects their own account, and only their own commits are found.
- Your role needs the personal timesheet enabled (the Enable personal timesheet permission). Without it neither the Integrations menu nor the Import button is shown.
- You can only import into active projects you are allowed to log time to. See Projects.
- Bitbucket only returns the last two months of commits. Older GitLab servers have the same limit; the import dialog names the connection if that applies.
Connect your Git account
GitHub and GitLab connect either through OAuth, which is recommended, or with a personal access token. Bitbucket connects through OAuth only.
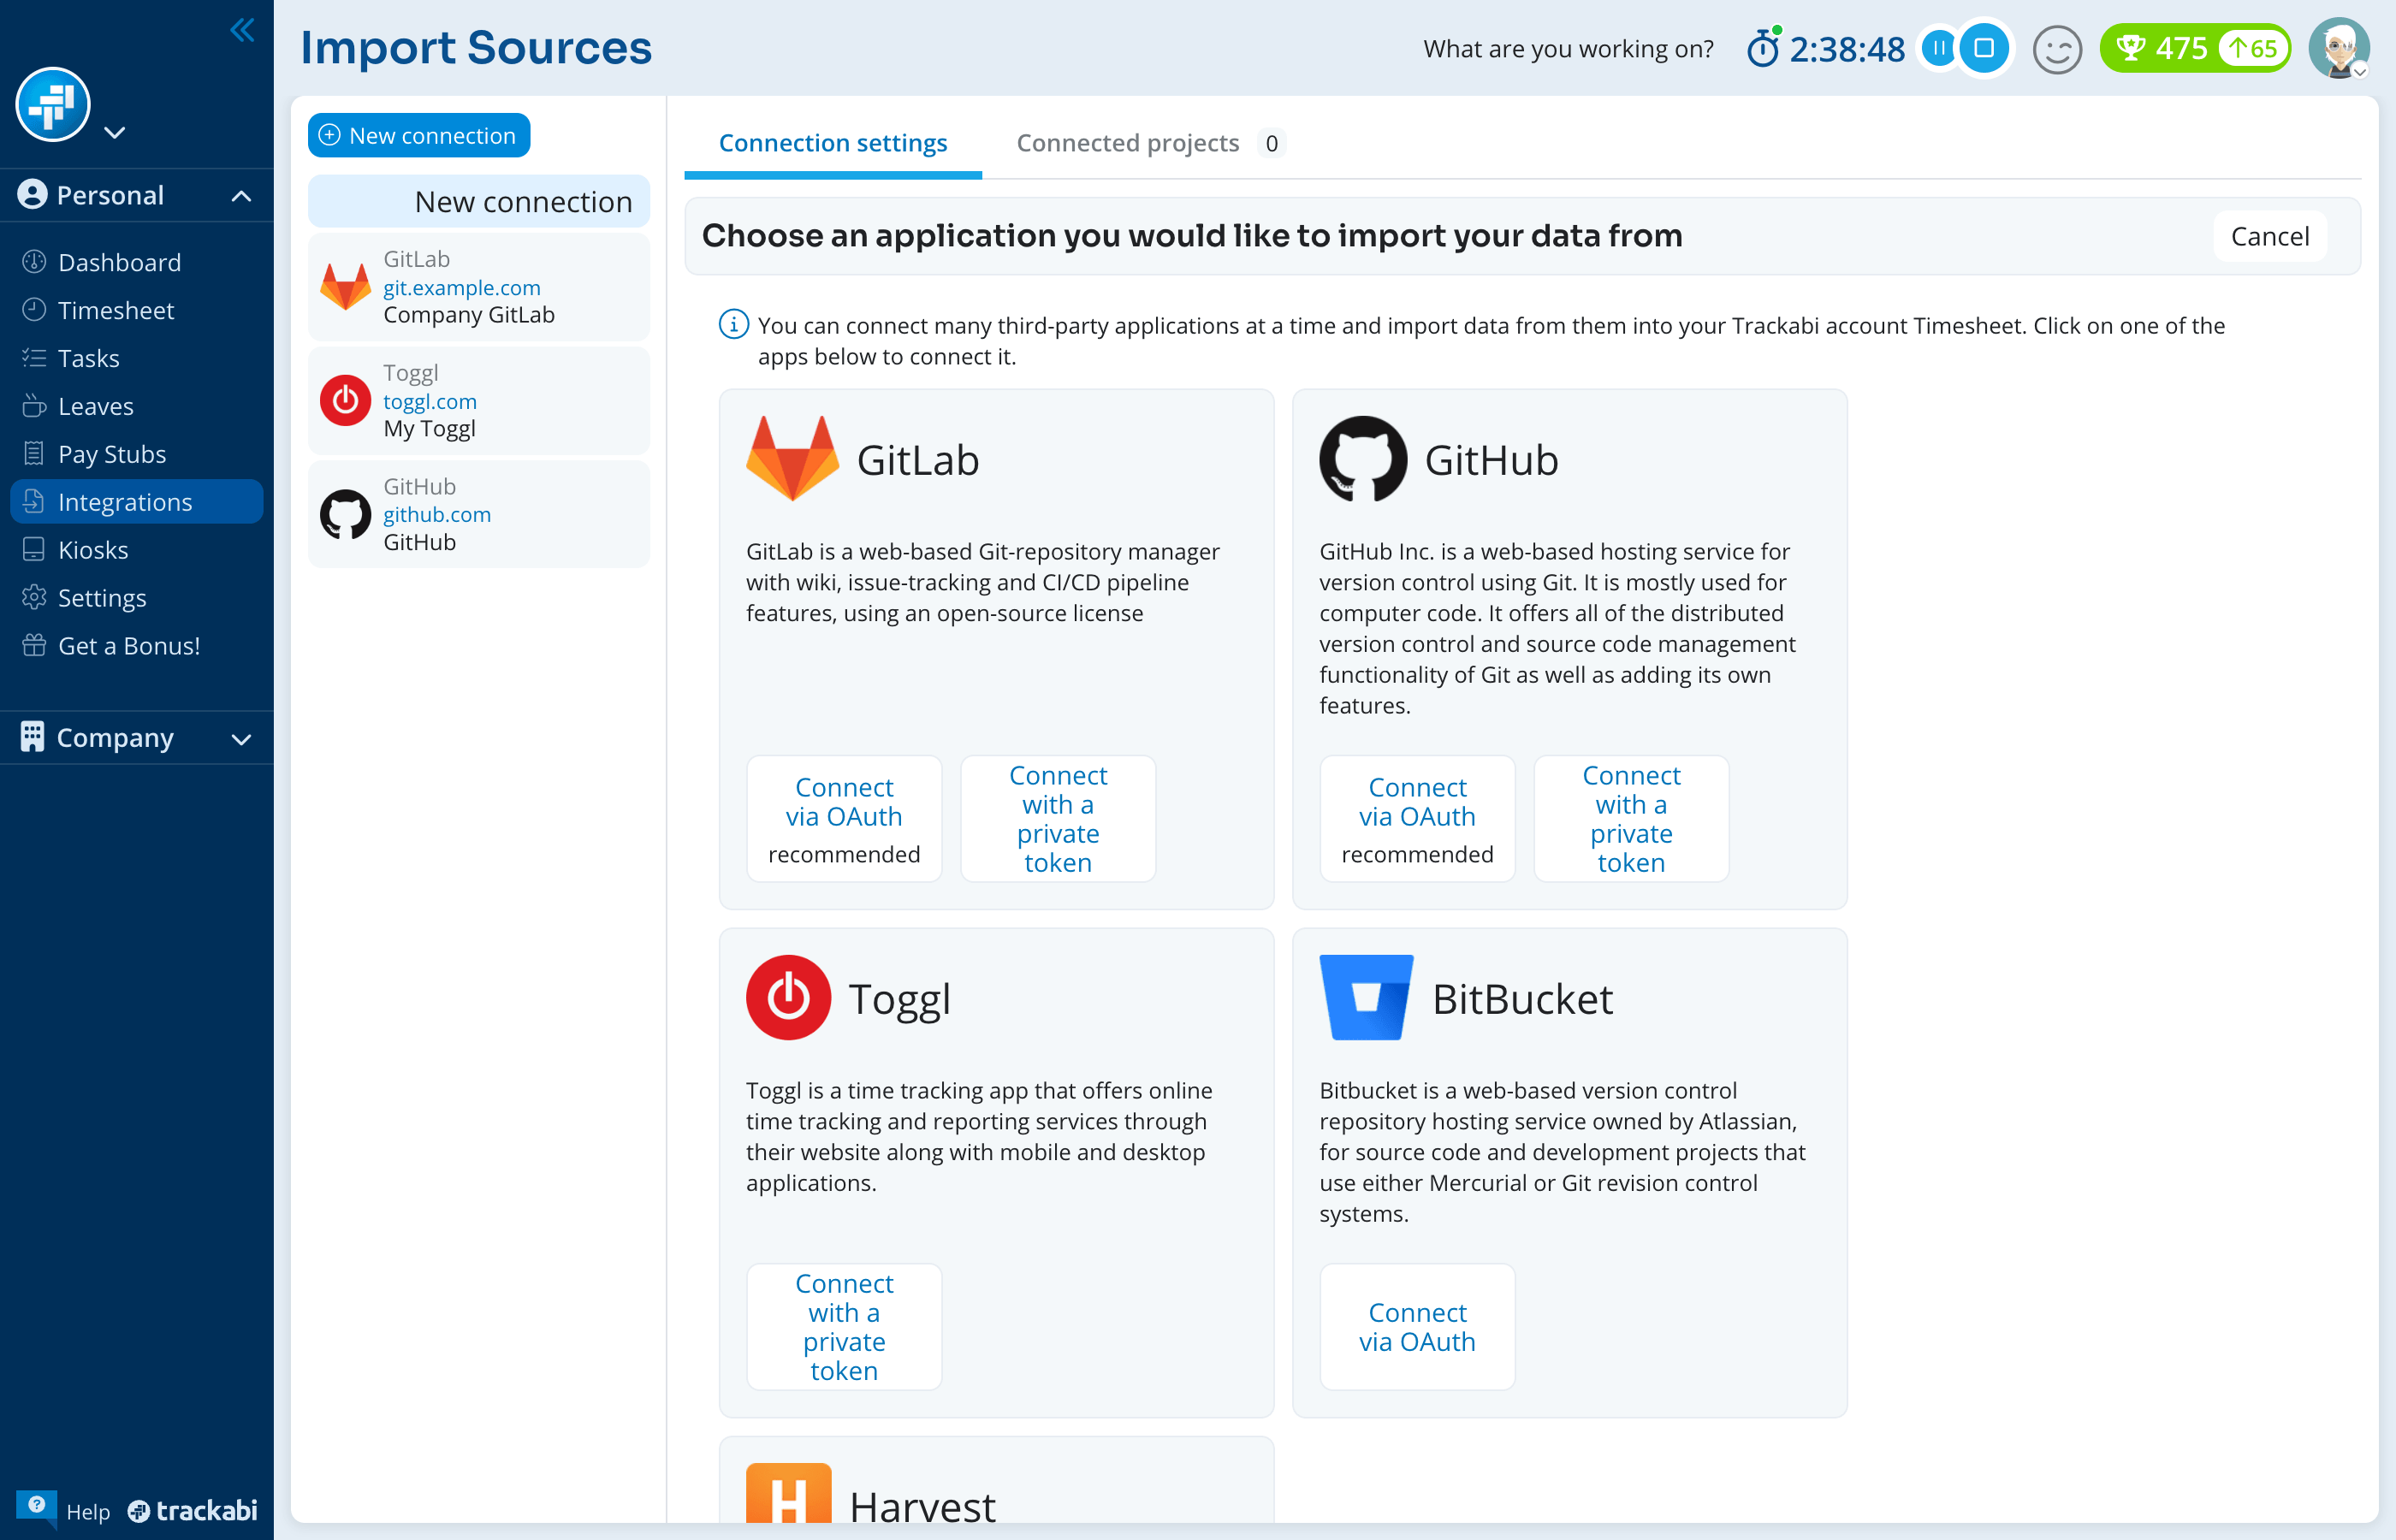
To connect via OAuth:
- Open Personal > Integrations and click New connection.
- Under the service, click Connect via OAuth. For GitLab, first enter the Server URL of your GitLab instance; it is
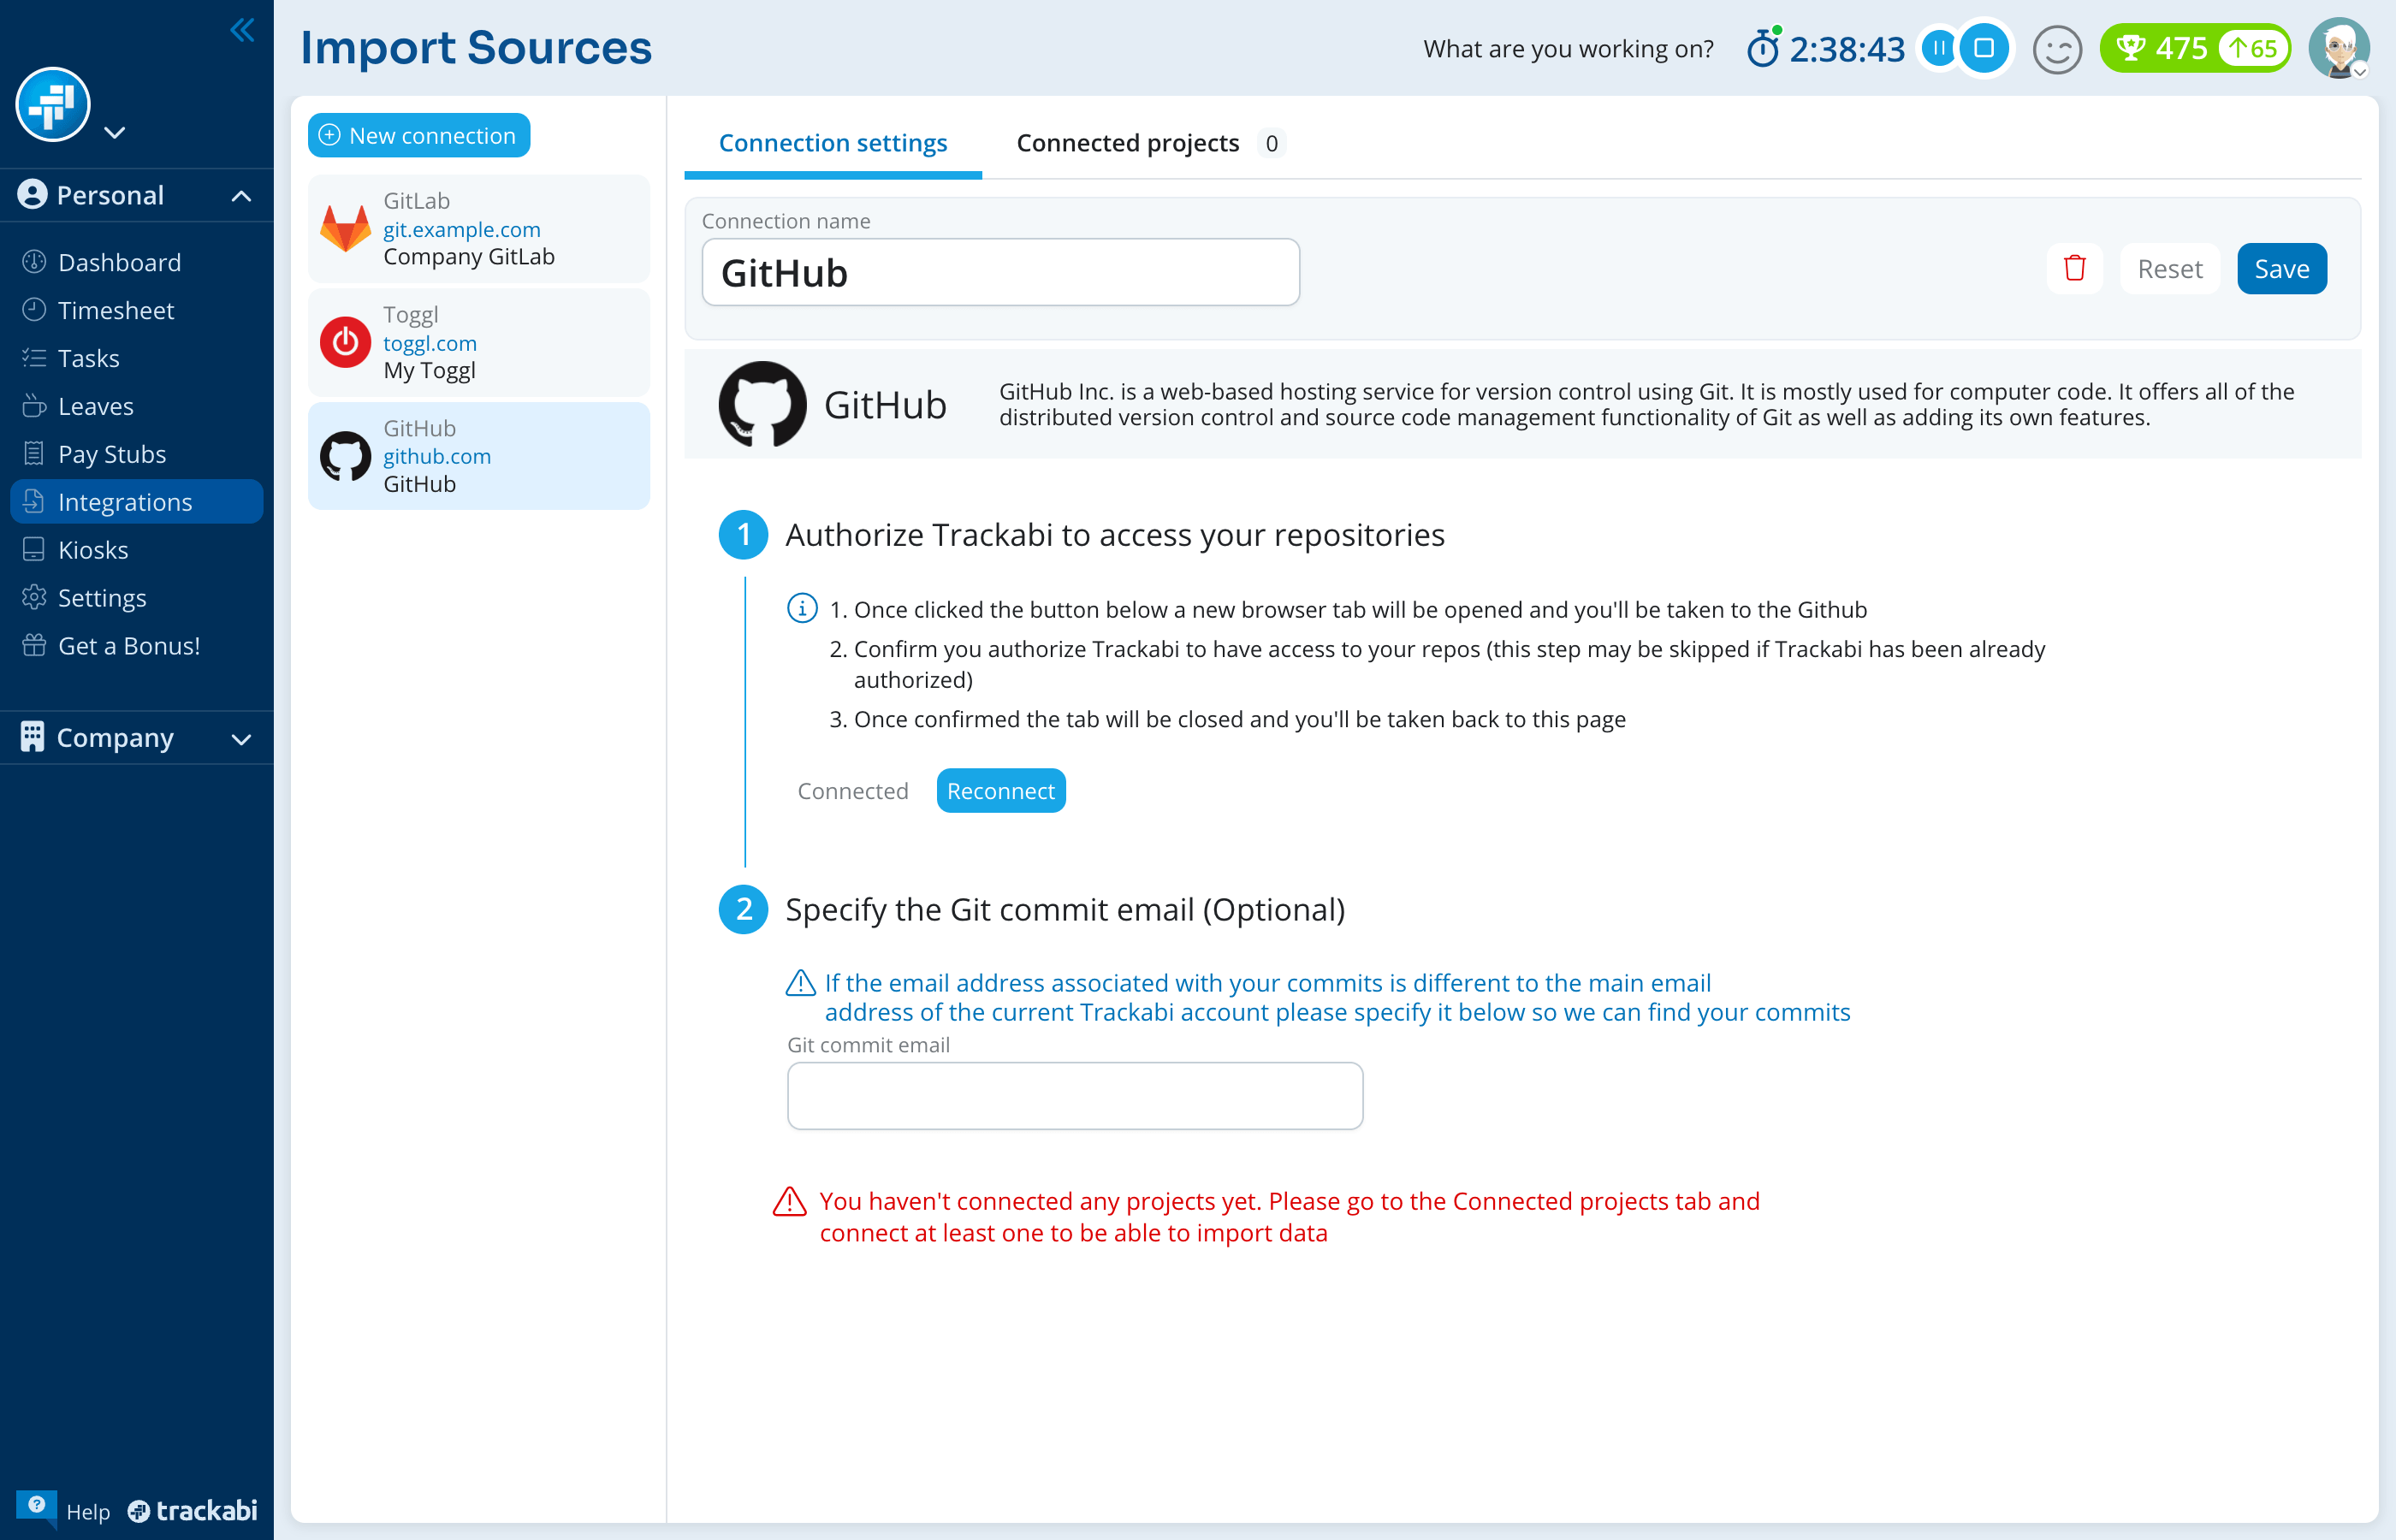
https://gitlab.com/unless you self-host. - Click Get Authorization. A new tab opens on the service; confirm that Trackabi may read your repositories. The tab closes on its own and the button changes to Connected.
- Type a Connection name and click Save.
To connect with a token, choose Connect with a private token and create the token on the service with the scopes the form asks for: repo and read:user on GitHub, api and read_user on GitLab. Paste it into Private Token and save. GitLab OAuth needs GitLab 7.7.0 or newer; on an older server use a token.
Trackabi verifies the connection before saving. A rejected token shows Access denied per this token; a GitLab server whose API Trackabi cannot use shows Unsupported API vesrsion. This hub cannot be connected. If a saved connection stops working later, open it and click Reconnect.
If you commit under another email
Trackabi finds your commits by the identity of the connected account, so commits made with a different email are invisible until you list that email in the connection. On GitHub, fill in Git commit email; on GitLab, list up to ten addresses in Additional Git commit emails (one per line). Bitbucket has no such field and matches on the account itself.
Link the repositories
To link repositories:
- Open the connection and switch to the Connected projects tab.
- Click Update remote projects from GitHub (or GitLab, Bitbucket) to fetch your repositories. GitLab and Bitbucket lists are grouped by namespace or workspace.
- For each Trackabi project in the Local project column, choose the repository whose commits belong to it.
- Click Save.
Only active projects you can log time to are listed. Use the plus button on a row to feed one project from several repositories. A repository can be linked to one project only; choosing it on another row moves the link.
Import the commits
To import from your timesheet:
- Open Personal > Timesheet and click Import.
- Choose Today's data, Yesterday's data, This week's data, or Data from custom date range. The first three fetch immediately; the last lets you pick the date range and untick linked projects first, then click Fetch data.
- In Preview, adjust & save, tick the commits you want and click Save selected.
Each commit is one row, grouped by date, with the repository's project and the commit message. Filter by project or keyword; Select all and Unselect all act on the filtered rows.
A day's work is usually many small commits, and you rarely want one time entry per commit. Select the commits of a day and click Group selected to merge them into one entry whose description lists every commit message on its own line, or Group by date to do that automatically for every day among the selected rows. Ungroup selected splits merged rows again, and Start over returns to the date step.
What an imported entry contains
- The day is the commit date and the description is the commit message.
- The project is the Trackabi project linked to the repository, and the client is that project's client. No task is set.
- The time type is your company's default time type.
- No duration. A commit carries no time, so the entry is saved with its logged time empty. Open each imported entry in the timesheet afterwards and enter the time spent.
Which commits are found
Only commits authored by you, between the start and end of the chosen range, are fetched:
- GitHub — commits attributed to your GitHub login, your GitHub account email, or the Git commit email you entered, on the first ten branches of the repository.
- GitLab — commits whose author email is your GitLab account email or one of the Additional Git commit emails, on up to ten unmerged branches that had commits since the start date.
- Bitbucket — commits by the connected account, walking back from the newest commit until the start date; the range cannot reach further back than two months.
A commit that exists on several branches appears once. Merge commits and other people's commits are not listed.
Trackabi does not remember what has already been imported. Fetching the same date range twice lists the same commits again, so untick the ones you have saved before.